Introduction
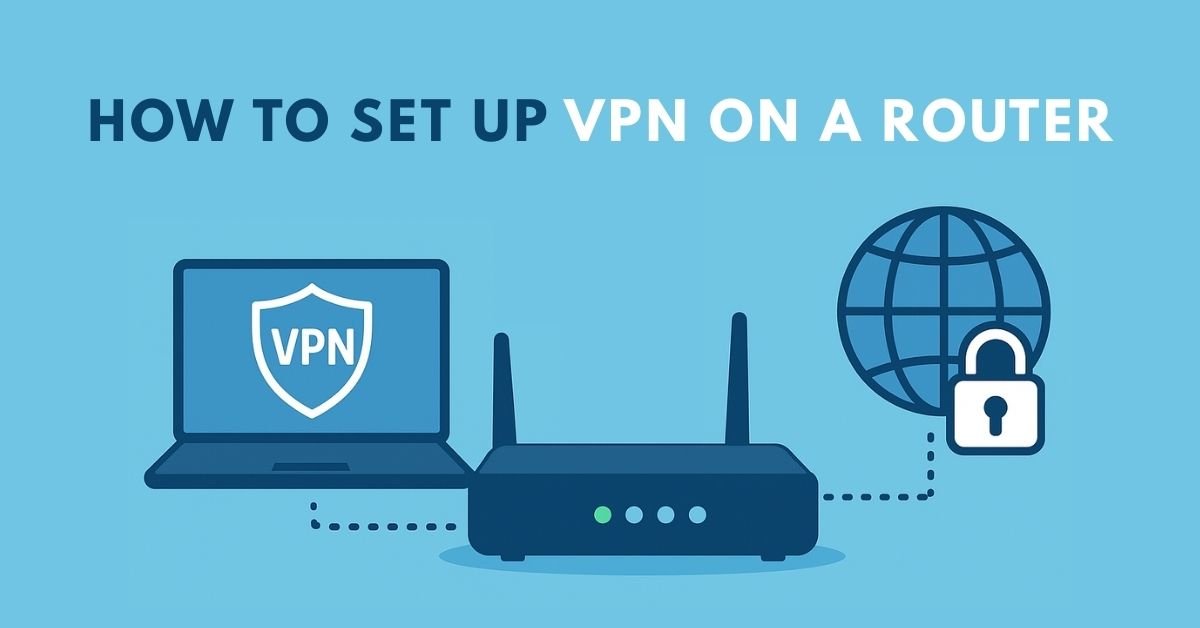
Are you tired of installing VPN software on each device one by one? Want to secure smart TVs, game consoles, and even IoT devices—all at once? Setting up a VPN on your router offers network-wide protection, routing all your devices through an encrypted tunnel. In this comprehensive guide, we walk you through everything you need to know—from hardware selection and firmware options to configuration and testing—so you can enjoy privacy and streaming freedom for your entire home network.
Why Set Up VPN on a Router?
Whole‑Home Protection
Installing VPN on a router means every device connected to your Wi‑Fi or wired LAN is automatically protected

Covers Devices Without VPN Support
Smart TVs, consoles, IoT devices, and smart home gadgets often can’t run VPN clients—but they’re covered when the router handles the VPN
One Setup, One Login
Instead of managing multiple apps or subscriptions, you handle VPN access at one point—your router.
Simplified Streaming and Region Unblocking
All devices appear to be in the same VPN region, helping you unblock streaming content (Netflix, Amazon, etc.) from any connected device.
Potential Drawbacks to Consider
- Speed impact: Encryption may slightly reduce throughput depending on router CPU power
- Technical complexity: Manual setup or firmware flashing can be risky for beginners.
- Switching servers: Changing VPN servers often requires logging into router settings.

Step-by‑Step: How to Set Up a VPN on a Router
Check Router Compatibility
- Confirm your router supports VPN client features.
- Look for routers from brands such as AsusWRT, TP‑Link, Netgear, or community firmware like DD‑WRT or OpenWRT
- If not, consider flashing third-party firmware like DD‑WRT, Asus‑Merlin, or OpenWRT to add VPN support—but only if you are tech‑savvy
Step 2: Choose a VPN Service With Router Support
- Providers like ExpressVPN, NordVPN, Surfshark, Proton VPN, and CyberGhost offer guided setup for routers
- ExpressVPN even sells pre‑configured routers (Aircove series) that require minimal setup
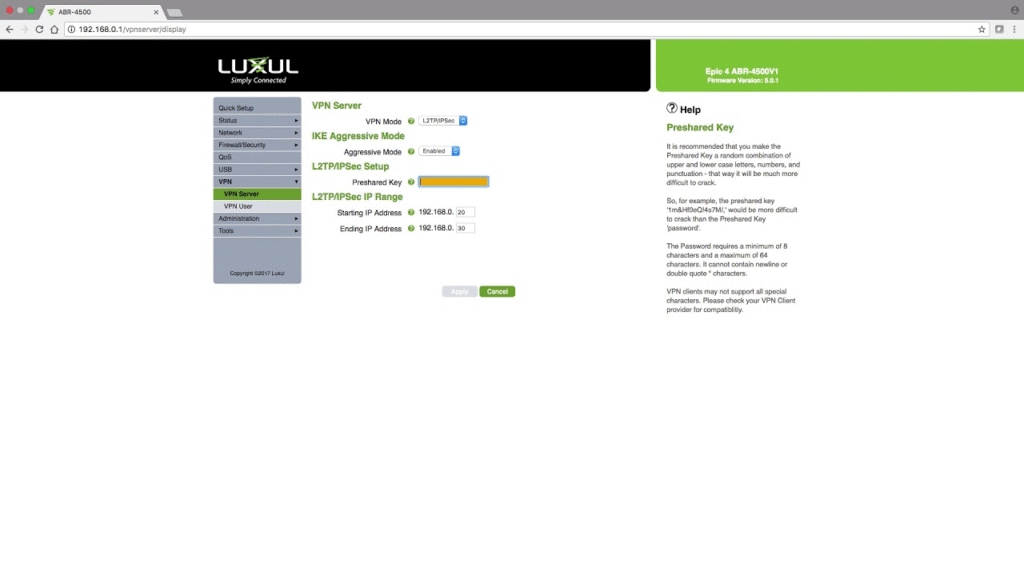
Step 3: Access Your Router’s Admin Panel
- Open a browser and visit common IPs like 192.168.1.1 or 192.168.0.1, or a branded URL like tplinkwifi.net
- Log in using your router’s username/password. If forgotten, consider resetting to factory settings.
Step 4: Upload VPN Credentials or Configuration Files
- Navigate to the VPN client section (found under Advanced, Security, or VPN).
- Upload the OpenVPN (.ovpn) or WireGuard config files provided by your VPN provider.
- Enter login credentials and any keys required.
Step 5: Optional Firmware Flash (if needed)
- Some routers require flashing custom firmware such as DD‑WRT or Asus‑Merlin to gain VPN support.
- Ensure compatibility with your router model and follow official flash guides carefully—bricking risk is real.
Step 6: Configure and Enable VPN on Router
- Enable the VPN client and select config files or server entries.
- Save settings and allow the router to restart.
- On models like TP‑Link, you can even specify devices to route over VPN selectively.
Step 7: Test the VPN Connection
- Visit an IP-checking site to confirm your public IP has changed and matches your VPN server.
- Test with connected devices (smartphone, laptop, smart TV) to ensure protection is active.
Router Types & Firmware Compatibility
Stock VPN-Ready Routers
- Example: ExpressVPN Aircove or compatible Asus, TP‑Link models with built‑in VPN client support.
AsusWRT / Asus‑Merlin
- Popular for built-in OpenVPN or WireGuard support.
- Easy setup via GUI; detailed guides from providers such as Proton VPN exist.
TP‑Link VPN Clients
- Newer TP‑Link routers include VPN Client configuration under Advanced > VPN Client.
- Allows enabling VPN per device if needed.
DD‑WRT, OpenWRT, FreshTomato
- Custom firmware that enables VPN client features on routers not otherwise supporting it.
- Supports OpenVPN and WireGuard protocols.
- Beware firmware flashing—backup settings and ensure you have a recovery plan.
Common VPN Protocols on Routers
OpenVPN
- Widely supported, secure (AES‑256 encryption), flexible. Runs via configurable .ovpn files.
WireGuard
- Lightweight, faster speeds, easier configuration.
- Supported by modern firmwares such as AsusWRT‑Merlin, OpenWRT, Proton VPN guides .
L2TP/IPsec and PPTP (Less Recommended)
- Offer easier setup but weaker security; L2TP is often wrapped in IPsec for encryption.
Setup Variations & Tips
Dual-Router Setup
- Use a dedicated VPN router for devices that need VPN, and a second router (WAN-to-LAN) for devices that don’t, avoiding double NAT issue.
Device-Based Routing
- On TP‑Link and similar firmware, choose which devices route through VPN and which don’t—ideal for bypassing region locks or preserving speed.
Firmware Updates
- Keep router firmware updated to ensure compatibility with VPN protocols and avoid vulnerabilities.
Fallback / Kill Switch Options
- Some VPN routers offer built-in kill switch options or DNS leak prevention to avoid IP exposure if VPN disconnects unexpectedly.
Performance Considerations
- Encryption overhead may reduce throughput—routers with stronger CPUs handle OpenVPN fine; low-end units may slow severely, especially with AES cipher modes.
- WireGuard often performs faster than OpenVPN, often nearing full ISP speeds.
- Avoid older routers unless upgraded—you may hit a “performance ceiling” if hardware underpowered.
Security & Privacy Best Practices
- Use reputable VPN providers with strong privacy policies, such as NordVPN (RAM-only servers, DNS threat protection), ExpressVPN, Surfshark, or Proton VPN.
- Choose protocols with proven encryption: AES‑256, OpenVPN, WireGuard.
- Regularly check for cloud-based malware attacks like VPNFilter—keep router firmware updated and factory-reset compromised devices.
FAQ
1. Can I install a VPN on any router?
Not every router supports VPN clients. Many stock ISP‑provided routers lack this feature. To use a VPN on your router, you’ll need compatible firmware (like AsusWRT, TP‑Link with VPN, DD‑WRT, or OpenWRT) or a pre‑configured VPN router.
2. Will setting up a VPN slow down my internet?
Possibly—encryption adds overhead. A router with a powerful CPU or support for WireGuard will deliver better speed. Older or under‑powered routers may struggle, especially with OpenVPN.
3. Do I need to run VPN software on each device after installing on the router?
No. Once the VPN is live on the router, all connected devices automatically route through the VPN—no apps required.
4. How do I switch VPN servers after setup?
You’ll typically need to log into your router’s admin panel and switch to a different configuration file or server. Some advanced routers offer UI options for server selection.
5. What if I brick my router while flashing firmware?
Always back up original firmware and settings. Use official guides or recovery modes built into your router. If you’re unsure or uncomfortable, consider buying a VPN-compatible pre‑flashed router instead.
6. Can I split traffic so some devices use regular internet, others use VPN?
Yes. Some firmware (TP‑Link VPN Client, DD‑WRT policy routing) allows you to choose which devices go over VPN and which bypass—it’s perfect for selectively routing.
Conclusion
Setting up a VPN on your router might seem technical, but it delivers enormous benefits: whole‑home privacy, coverage for unsupported devices, and simplified VPN access. Choose compatible hardware, download your provider’s configuration files, and carefully follow your router’s setup procedure—whether via stock firmware or community builds like DD‑WRT or OpenWRT. Test thoroughly after setup and keep firmware updated for security.
Investing time now means long-term peace of mind: a secure, encrypted home network operating seamlessly behind the scenes. Let VPN AdWiser help you pick the right provider and configurations for your router-based VPN setup.